Table of Contents
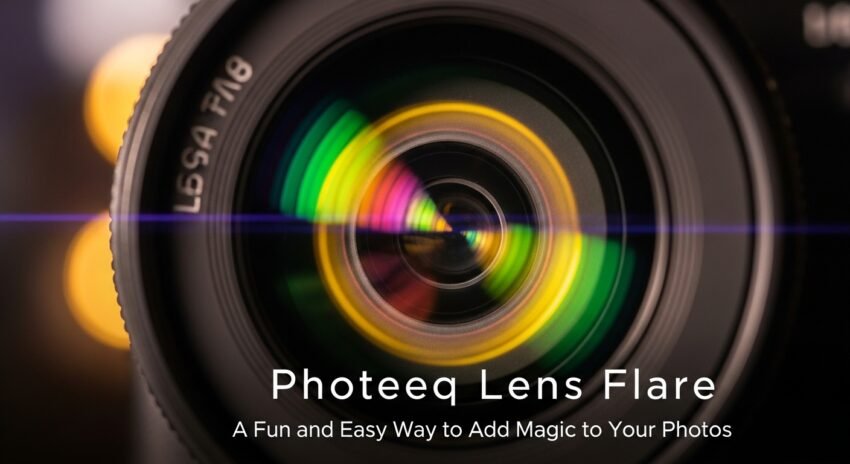
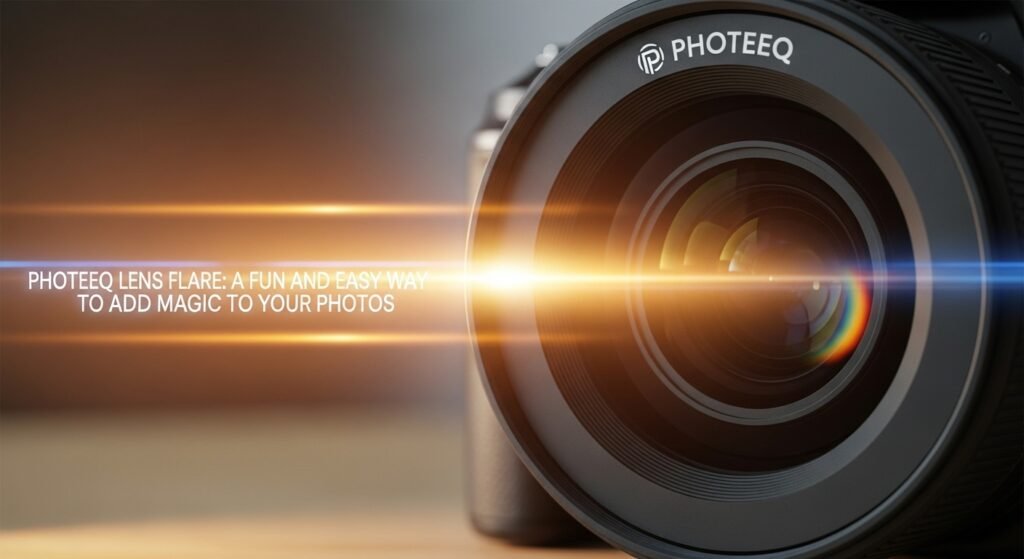
Have you ever looked at a photo and thought, “Wow, that light effect looks so cool!”? That glow or sparkle is often called a lens flare, and now with tools like Photeeq lens flare, you can easily add that same magical effect to your own photos. Whether you’re just starting out with photography or you’re an experienced creator looking to bring more life to your pictures, Photeeq makes it simple and fun. Lens flares have been used in movies, ads, social media, and even school projects to add a cinematic feel. And with Photeeq lens flare, you don’t need to be a tech expert or professional editor. You just need a photo, some creativity, and a few clicks. In this guide, we’ll go over everything you need to know—from what Photeeq lens flare is, how it works, and how you can use it to transform ordinary photos into something amazing. We’ll also share tips, examples, and beginner-friendly instructions that anyone can follow. Plus, we’ll answer common questions so you feel confident with this fun photo effect. Ready to shine? Let’s get started!
What Is a Lens Flare?
Before we talk about Photeeq, let’s break down what a lens flare is. A lens flare is a bright, shiny effect that happens when light hits your camera lens in a certain way. It’s often seen as streaks, rings, glows, or sparkles that stretch across a photo. You might see it during a sunny day when you take a picture facing the sun. It’s a natural result, but it can also be added using editing tools. That’s where Photeeq lens flare comes in. It gives you the power to create these effects yourself, even if you didn’t capture them in-camera. And with the right style, lens flares can make your pictures feel warm, dreamy, dramatic, or super creative.
What Is Photeeq Lens Flare?
Photeeq lens flare is a digital photo editing plugin or effect that lets you easily add lens flare to your images. Photeeq was originally known for creating fast, user-friendly photo editing tools that work well with software like Photoshop and Lightroom. Whether you’re editing portraits, cityscapes, landscapes, or creative posts, the Photeeq lens flare tool makes it quick and simple to add a touch of sun or sparkle to your shots. The effect is smooth and can be adjusted to match the style and feel you want. You don’t need high-level training. Just open your image, add the effect, adjust the light placement, and you’re done. It’s perfect for beginners, hobbyists, and professionals alike.
Why Photeeq Lens Flare Is So Popular
So why do so many people love using Photeeq lens flare in their images? Mostly because it’s easy to use and looks amazing. Many editing tools can be too complex or confusing. But Photeeq keeps things fun and simple. With a few clicks, you can brighten up a dull background, add a golden-hour glow, or turn a regular portrait into something magical. People also love how realistic the flares look. They don’t feel fake or out of place. The lens flares blend naturally with the lighting in your photo. And with different shapes, colors, and styles to choose from, you can add a creative touch without needing special camera gear or perfect outdoor lighting.
How to Use Photeeq Lens Flare on Your Photos
Using Photeeq lens flare is easy, even for first-time users. First, open your preferred photo editing software (such as Photoshop or Lightroom), and make sure the Photeeq plugin or filter is installed. Choose the photo you want to work on. Then, open the Photeeq lens flare tool. You’ll see different flare styles—like circles, rays, dots, and more. Click on one to preview it. You can then move the flare to different parts of your image by dragging it around. Want the flare on the top right corner? Or directly behind someone’s head for that dreamy halo effect? It’s up to you. You can also change how bright it is or blend it more naturally with shadows and highlights. Once it looks good, save the image. Done!
Where to Download Photeeq Lens Flare
If you’re ready to try Photeeq lens flare, you’ll need to first install the Photeeq plugin or extension. The good news is that it’s often available directly from their official website or through trusted photography forums and marketplaces. Some older versions were distributed for free, but always be sure you’re downloading from a safe, virus-free source. Look for updated support for Windows or Mac, and make sure your software supports the plugin structure (it usually works with Photoshop versions supporting 64-bit plugins). After downloading, follow the easy steps to install it into your photo editing app. In just minutes, you can start creating powerful visuals with Photeeq lens flare.
When Should You Use Lens Flare in an Image?
Now that you’ve got the tool, the next question is: When is the best time to use a lens flare effect? The answer depends on the feel you’re going for. Photeeq lens flare looks great when you want to bring more emotion or realism into a shot. Use it when:
- Editing sunset or sunrise photos
- Creating dreamy or romantic images
- Highlighting movement or action scenes
- Enhancing natural light in a flat photo
- Making a post stand out on social media
Just don’t overdo it. A small, well-placed flare can go a long way. Too much light can hide details or make a photo feel fake. Balance is key!
Best Types of Photos for Photeeq Lens Flare Effects
Some photos are just made for lens flares. In the Photeeq lens flare workflow, these types of pictures really stand out:
- Backlit portraits (where light comes from behind the person)
- Nature shots with strong sunlight or clear skies
- Urban photos with buildings, streets, or headlights
- Golden hour shots just before sunset or after sunrise
- Vintage-style edits with film grain or warm tones
The effect shines brightest (pun intended) in photos that already have good lighting or contrast. Photeeq helps you take that natural light and boost it up to the next level in a beautiful and realistic way.
Tips to Make Photeeq Lens Flare Look Natural
If you want your lens flare to look real, the secret is in the placement and blending. In the Photeeq lens flare toolkit, try these smart tips:
- Match your photo’s light direction. If the sun is to the left, place the flare on the left.
- Use layers. Adjust brightness, opacity, or blend mode to make it soft instead of sharp.
- Play with sizes. Bigger flares work for outdoor shots, smaller ones for detail shots.
- Try warming up the image. Lens flares look best with warmer tones like gold, orange, or soft yellow.
- Preview often. Zoom out and check the full image to avoid unnatural flares that stand out too much.
With Photeeq lens flare, subtle use often creates the most beautiful edits.
Common Mistakes to Avoid When Using Photeeq Lens Flare
Even though Photeeq lens flare makes editing simple, it’s still easy to overdo it. Here are a few no-no’s:
- Adding flare where there’s no light source. This confuses the viewer. Always place it near light.
- Using it on every photo. Save lens flares for photos that really benefit from it.
- Making it too bright. Flares should add, not distract. Keep them smooth and soft.
- Mixing flare styles randomly. Choose one type per photo to keep things professional.
- Skipping the preview. Always check on different screens or lighting to see if it still looks great.
With practice, you’ll find the perfect balance and make each photo shine with ease using Photeeq lens flare.
Real Photo Examples Using Photeeq Lens Flare
Let’s look at how real photographers use Photeeq lens flare in beautiful ways. One nature photographer used it to enhance a sunrise landscape photo. After adding a soft orange flare in the top right corner, the photo looked like it was taken during golden hour—even though it wasn’t! A blogger added light flares to a lifestyle shoot to give it a cozy, summer vibe. In another example, a wedding photographer used the effect to highlight a kiss during sunset. Once applied, the image looked cinematic and dreamy, as if it came straight from a romantic movie. These examples show how this tool doesn’t just add light—it adds emotion.
Combining Photeeq Lens Flare with Other Editing Tools
You can do even more amazing things by combining Photeeq lens flare with other editing tools. Try adding soft focus, film grain, or color grading after applying lens flare to create a full mood. Want a retro look? Mix lens flares with vintage filters. For social media, you can use apps like Lightroom Mobile, then bring the picture into Photoshop for flare finishing. The lens flare becomes part of the story you’re telling through color, light, and detail. Advanced users might add overlays or custom textures. But even simple edits can feel advanced thanks to Photeeq’s easy and powerful flare options.
Is Photeeq Lens Flare Beginner-Friendly?
Absolutely! That’s one big reason why so many people love Photeeq lens flare. It was made with simplicity in mind. Clear icons, fast previews, and no confusing steps make it perfect for beginners. You won’t need to look up long tutorials or memorize complicated tools. Just open the photo, choose a flare, move it into place, and adjust until it looks right. Anyone with basic photo editing knowledge can start using it in minutes. If you’re brand new, plenty of friendly videos and image examples are available online to help you get started.
FAQs
1. What is Photeeq lens flare used for?
Photeeq lens flare is used to add realistic, stylish light effects to photos during editing.
2. Is Photeeq lens flare free?
Some versions are free or offered as trials, but full features may require a paid version.
3. Can I use Photeeq lens flare with Photoshop?
Yes! It works as a plugin and blends perfectly with Photoshop workflows.
4. Will it work on mobile apps?
Not directly, but you can edit on desktop and transfer your image to share on mobile.
5. Are there different types of lens flares in Photeeq?
Yes. Photeeq lens flare includes circles, rays, halos, and glow effects in various styles.
6. Will it slow down my computer?
No. The plugin is lightweight and fast, especially when editing high-resolution photos.
Final Thoughts
Adding beautiful light to your photos doesn’t have to be hard or expensive. With Photeeq lens flare, you get the magic of lens effects in the easiest way possible. Whether you’re editing vacation shots, portraits, or creative art, this tool helps you bring photos to life. Just a little sparkle here, a soft glow there, and soon your images tell powerful stories. So if you’re ready to step up your photo edits without stress, give Photeeq lens flare a try today. And most of all, have fun! The world always needs more light—and now it can come from your photos too.